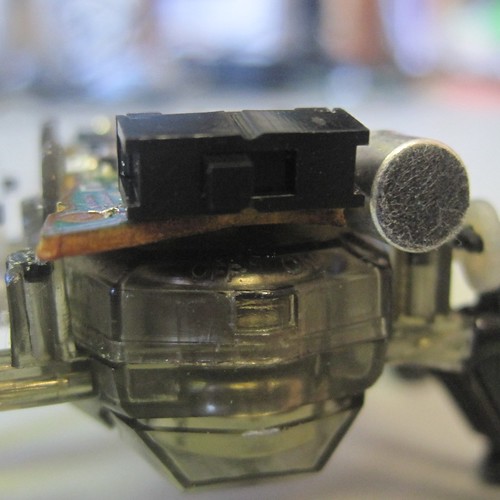
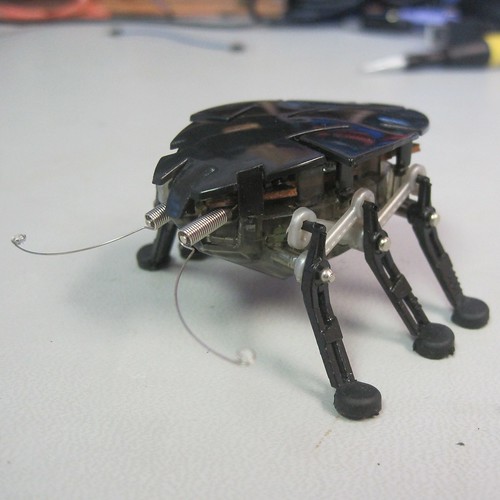
Original HEXBUG Delta power switch repair
Recently my son brought me his Hexbug with a broken power switch. If you are not familiar with the Hexbug it feels its way around sensing objects in its path and avoiding them using its bump sensor feelers.
The power switch is located on the rear of the bug and has a long plastic actuator. After so many uses the plastic broke off and the only way you could turn the bug on or off was with a sharp pointy thing. Having a peak under the cover of the Hexbug it looked like something that could be replaced. Here are the steps I took to repair the power switch on the original Hexbug.
Remove the battery cover and batteries.
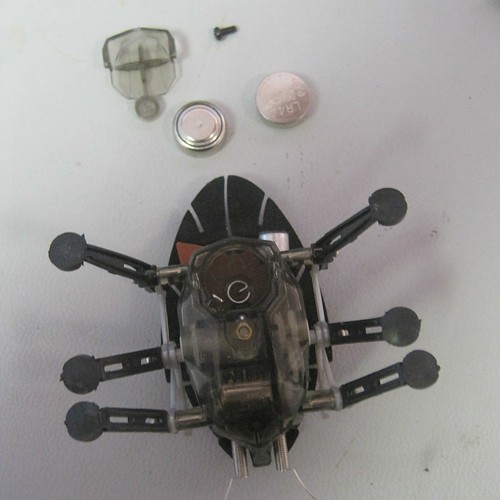
Remove the top cover of the bug.
I was able to pop out some of the plastic connections from the top without breaking them but others wouldn’t come out. For those I cut the remaining connections off with a utility knife. The cover still went back on OK and stayed connected after I was finished.
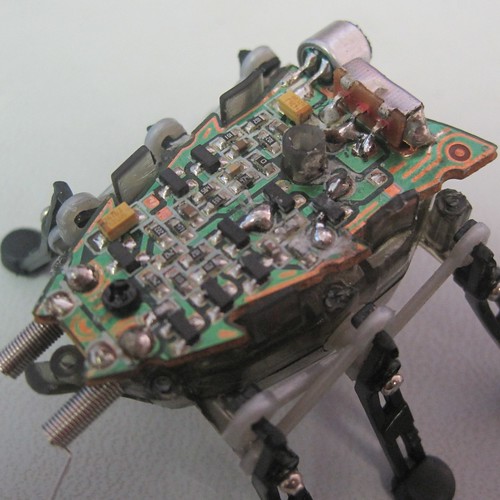
Cut the leads of the old switch.
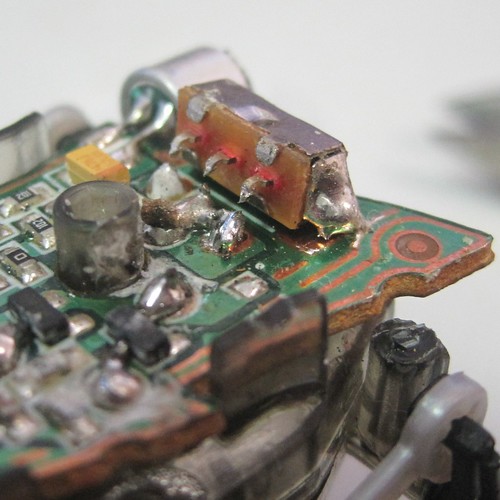
Remove the old switch from the circuit board.
The original switch is attached with solder on each side of the switch.
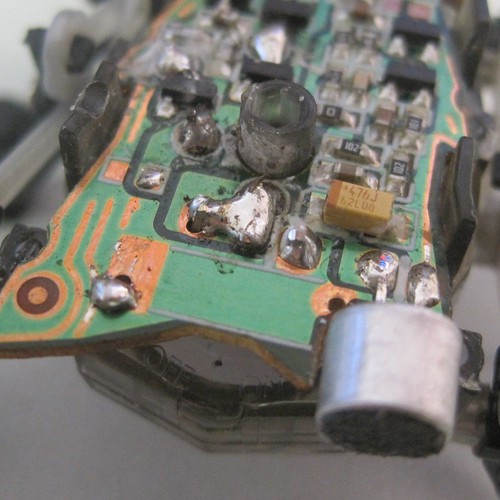
Using solder wick clean up the old solder from the switch holes on the PCB.
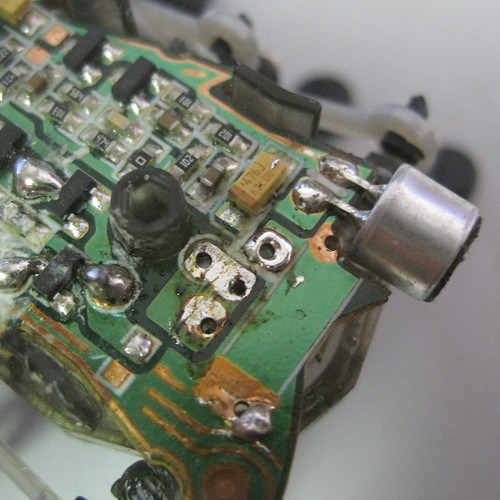
Find a new switch with the same pin spacing
The closest switch I had on hand was from E-switch part number EG1218. The pin spacing matched but the switch was a straight pinned version instead of a right angled one. Bend the leads of the switch prior to installing it on the board to work at a right angle.
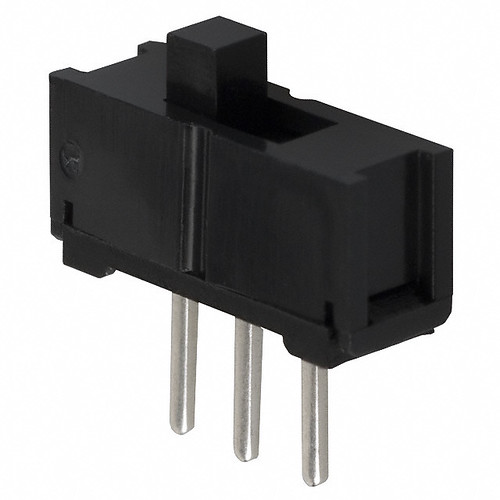
Solder the new switch onto the PCB.
The two pins on the right are on the same net so it’s OK to connect them together.
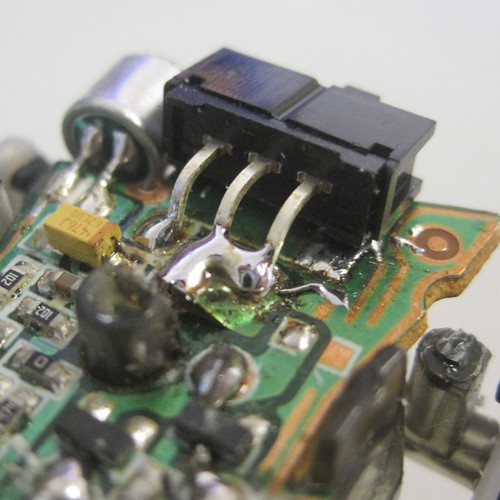
Re-install the top, batteries and battery cover.
We have a working Hexbug again!
