Speaking at the Bay Area Maker Faire on May 16th, 2015
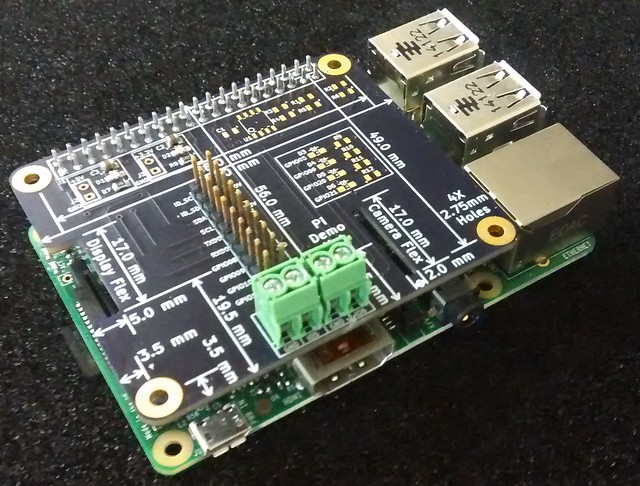
I’ve been accepted to speak at the 2015 Bay Area Maker Faire. My presentation is on creating your own Raspberry Pi HAT using KiCAD running on the Raspberry Pi 2. The presentation will be on the Electronics stage at 12:30PM on Saturday May 16th, 2015.
Presentation page
Meta Pi: Design a Raspberry Pi HAT using KiCAD running on the Raspberry Pi 2
Full Maker Faire presentation schedule
Maker Faire 2015 presentation schedule
Presentation description
A step-by-step guide to creating a Raspberry Pi HAT using the KiCAD suite of EDA tools running on the Raspberry Pi 2 itself.
The KiCAD project is an open source suite of EDA tools. KiCAD runs on Linux and the new Raspberry Pi 2 now has enough processing power to run KiCAD. KiCAD includes tools for schematic capture, netlist creation, printed circuit board (PCB) layout and a gerber viewer.
This presentation will cover:
– What is a HAT?
– Requirements for a HAT to be called a Raspberry Pi HAT
– Installing KiCAD on the Pi
– Drawing a schematic in KiCAD
– PCB layout in KiCAD
– Creating gerbers files
– Get your HAT PCB built
New Product – Flashlight Kit
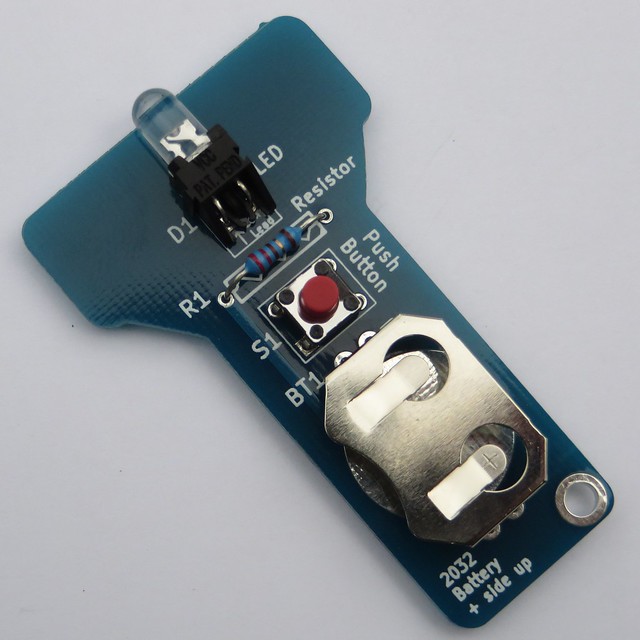
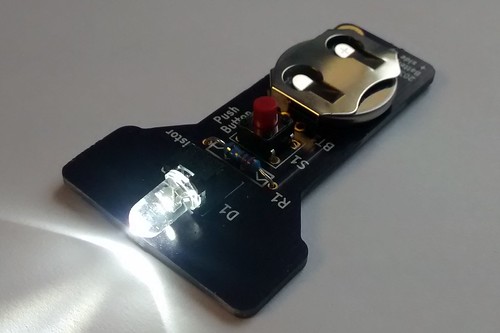
Assembled Low Voltage Labs Flashlight kit
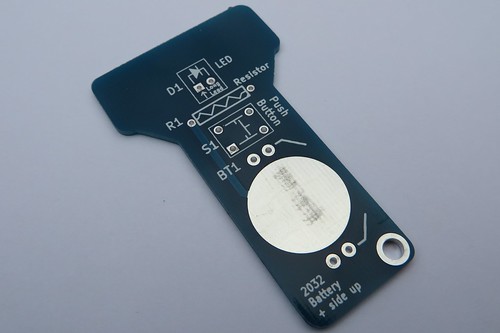
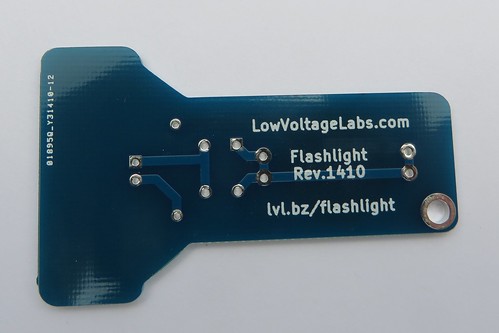
Brighten up your day with the new easy to build flashlight kit from Low Voltage Labs. This kit is perfect for the beginner just learning to solder. All the parts on the circuit board are clearly marked for those new to electronics. The two layer circuit board has easy to follow traces so you can see how the flashlight works. The kit includes the PCB and all the parts needed, just add solder and a battery.
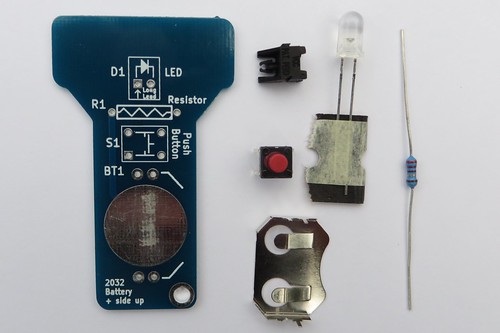
Included in the kit:
- Flashlight PCB
- 5mm bright white LED
- Right angle LED holder
- 22 ohm resistor
- Battery holder
- Push button
Powered by a standard 2032 coin battery not included.
Interested in distributing this product? Please contact us for wholesale pricing.
Low Voltage Labs at the Portland Mini Maker Faire 2014

Low Voltage Labs will have a booth at the Portland Mini Maker Faire again this year!
We will be demonstrating our open source hardware products for the Arduino and Raspberry Pi platforms as well as easy to solder electronics kits.
Find out more at OMSI’s website:
http://www.omsi.edu/maker-faire-pdx
Date: September 13-14, 2014
Time: 10am-5pm
Cost: $15 adults, $10 youth (3-13) and seniors (63+)
Located at: OMSI’s north parking lotMaker Faire is the Greatest Show (and Tell) on Earth—a family-friendly showcase of invention, creativity and resourcefulness, and a celebration of the Maker movement. It’s a place where people show what they are making, and share what they are learning.
Makers range from tech enthusiasts to crafters to homesteaders to scientists to garage tinkerers. They are of all ages and backgrounds. The aim of Maker Faire is to entertain, inform, connect and grow this community.
Original HEXBUG Delta power switch repair
Recently my son brought me his Hexbug with a broken power switch. If you are not familiar with the Hexbug it feels its way around sensing objects in its path and avoiding them using its bump sensor feelers.
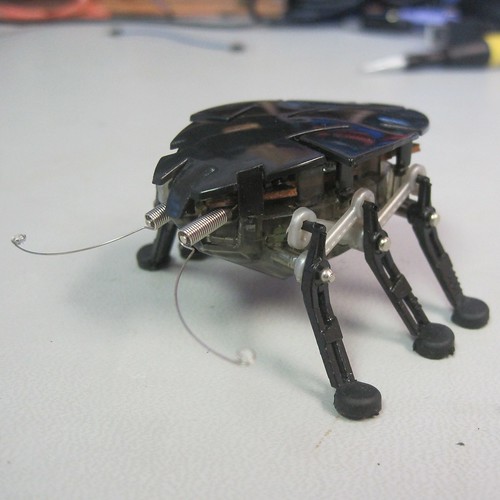
The power switch is located on the rear of the bug and has a long plastic actuator. After so many uses the plastic broke off and the only way you could turn the bug on or off was with a sharp pointy thing. Having a peak under the cover of the Hexbug it looked like something that could be replaced. Here are the steps I took to repair the power switch on the original Hexbug.
Remove the battery cover and batteries.
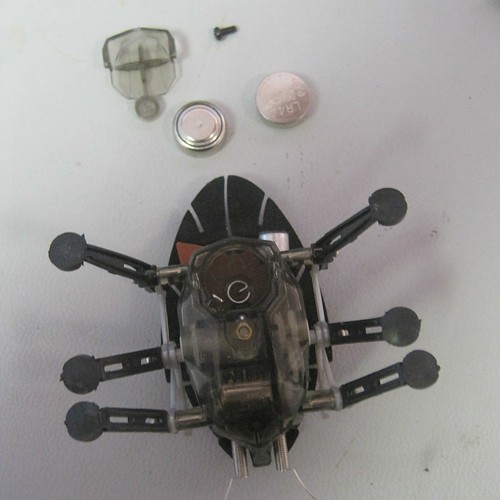
Remove the top cover of the bug.
I was able to pop out some of the plastic connections from the top without breaking them but others wouldn’t come out. For those I cut the remaining connections off with a utility knife. The cover still went back on OK and stayed connected after I was finished.
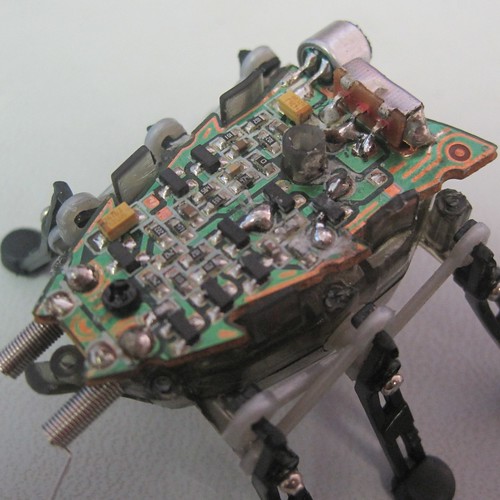
Cut the leads of the old switch.
Remove the old switch from the circuit board.
The original switch is attached with solder on each side of the switch.
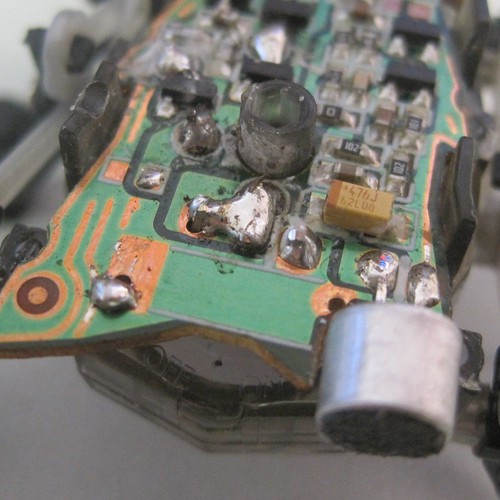
Using solder wick clean up the old solder from the switch holes on the PCB.
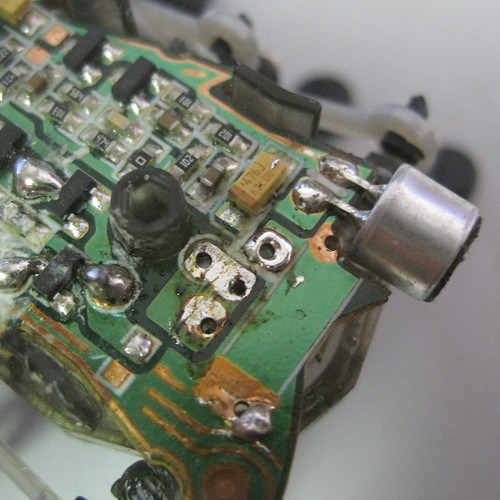
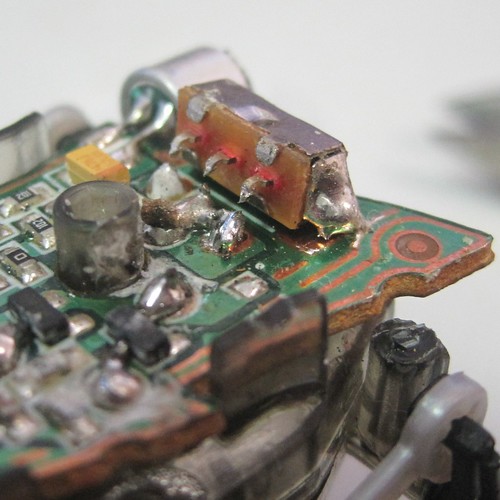
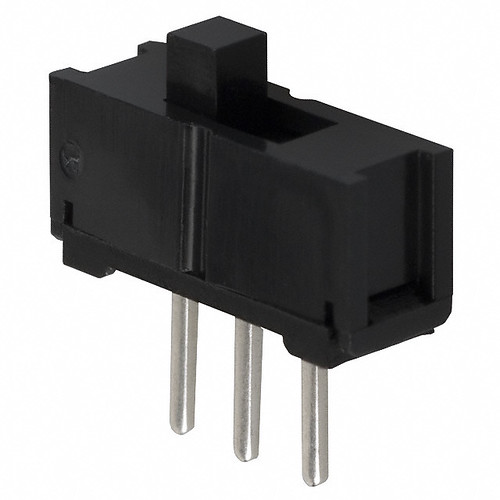
Find a new switch with the same pin spacing
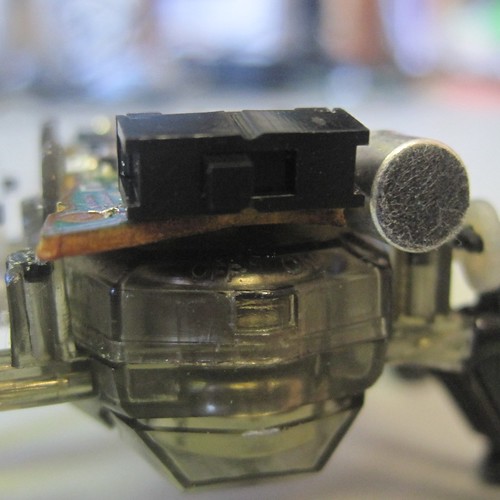
The closest switch I had on hand was from E-switch part number EG1218. The pin spacing matched but the switch was a straight pinned version instead of a right angled one. Bend the leads of the switch prior to installing it on the board to work at a right angle.
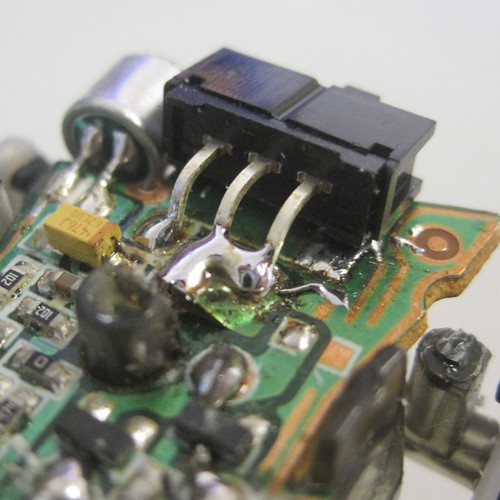
Solder the new switch onto the PCB.
The two pins on the right are on the same net so it’s OK to connect them together.
Re-install the top, batteries and battery cover.
We have a working Hexbug again!
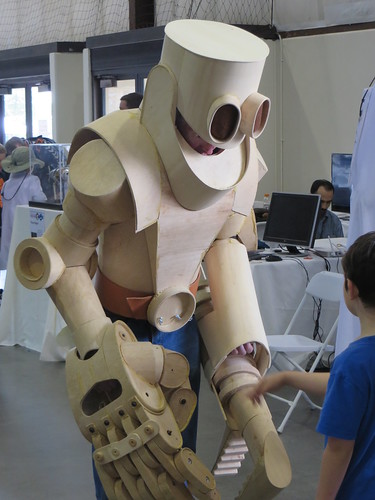
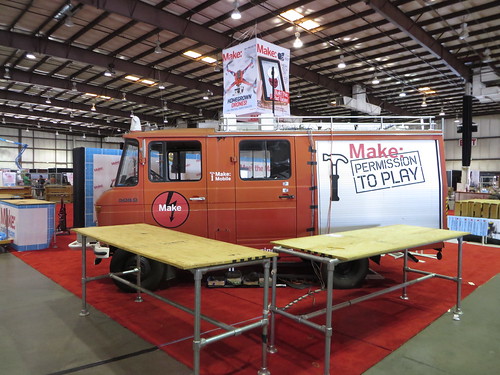
Photos from the 2014 Bay Area Maker Faire
Another great year at the 2014 Bay Area Maker Faire! Check out my photos from the event on Flickr.